Important: This article is intended for users of Endalia HR with an Administrator profile.
Besides regular hours, it's sometimes necessary to plan extra time, which must be registered as well. Take a look at this article to see everything this feature offers.
Content of this article:
Requests for individual work extensions and compensation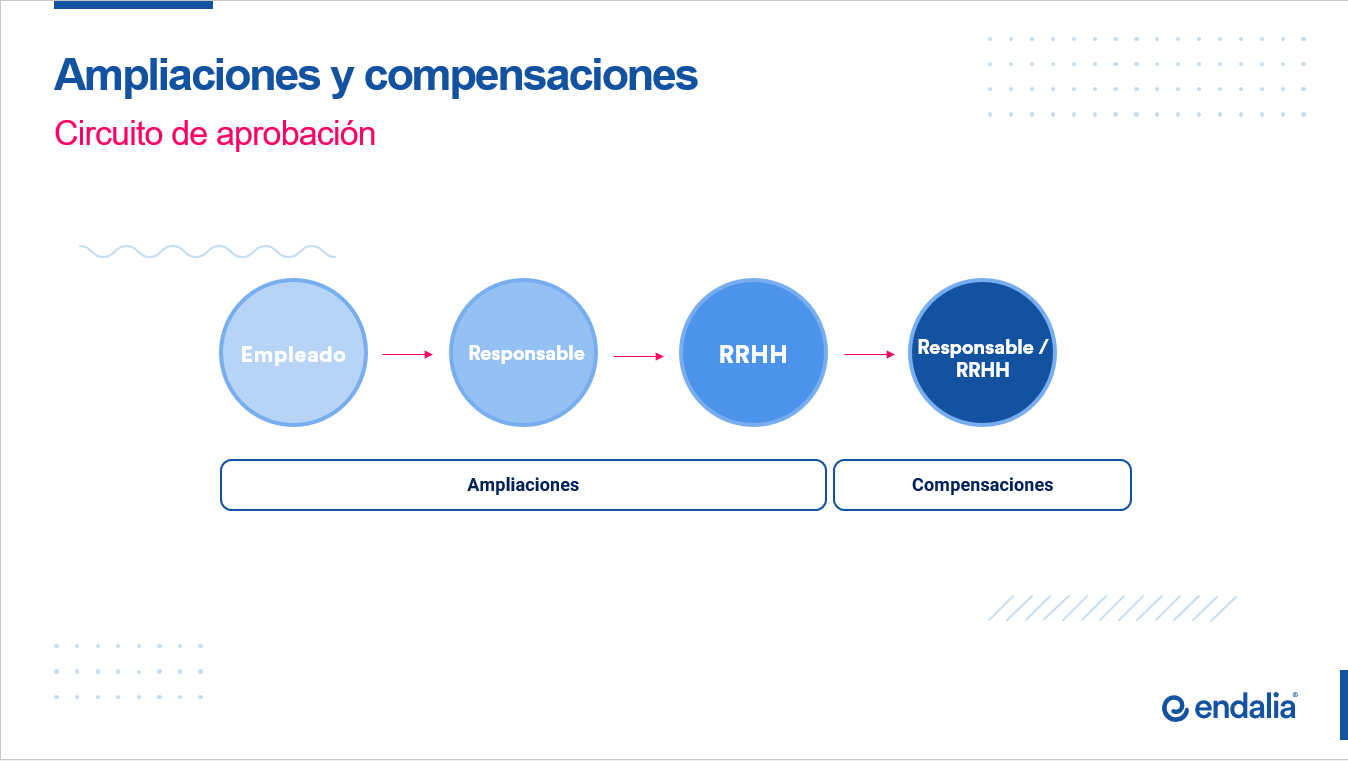
Firstly, the employee must request authorization for the work extension, from Me > My records. Once recorded through the prescribed channels, as an administrator, you can monitor the approval status of the request and then proceed to compensation. In this case, the extension will be taken as Vacation and Absences, or included in payroll. The process for extensions is as follows:
Inside the hub Time Management, click on Timekeeping > Time record monitoring > Extensions
- On the Extension Requests screen, you have access to a wide range of information. The tabs at the top show different statuses (Pending from me, from others and all). . Each card or employee space has its own buttons that allow you to Validate, Reject, Edit or Delete a request you are responsible for.

- Click on each of the three buttons to carry out the different actions; a message in the confirmation modal window will help you save your preferences, which will then be notified to the employee. Here you can see the example at hand, relating to validating a work extension:

- Once validation is done, you must proceed to compensation. Keep in mind that if there are multiple approvers, you will need to wait for all of them to validate before proceeding to the next step, Compensate. The image above shows you the first validation example; that is, you can only validate because there are more people waiting to give their approval, and you will have to wait; but if the process progress only depends on your validation, or you are the last approver of said process, the system will offer you, by default, the option to Validate and compensate:

- You can now carry out the second step, which is to compensate. To do this, go to the next screen (redirected directly from Validate and compensate), as you can see in this recent image, or by going, once the validation is done, to Time Management > Timekeeping > Time record monitoring > Compensations). Once you are on the main screen (Compensation), you can see the list of pending compensations and validated ones too. Within the latter, select one or several at a time and click the Validate button, which you will find in the toolbar. You can also choose a single compensation and edit it using the button in the same location mentioned earlier:

- If you choose the second option, Edit, individually, you will access the side modal window. Select the type of compensation and the hours (the time to compensate doesn't have to be the same as the initial request duration). Finally, click Save, or Save and validate to finally consolidate your changes, which will be automatically transferred to the request holder:

- Finally, click Save and validate in the modal window, to establish your preferences.
Note: In Configuration > Timekeeping > Extensions and compensations you can configure, if you have the necessary profiles, the different options for users, including the enabling of extensions and compensations, their approval workflows, and compensations.
You might also be interested in:
Additionally, you can check our glossary, available at this link.
Was this article helpful?
That’s Great!
Thank you for your feedback
Sorry! We couldn't be helpful
Thank you for your feedback
Feedback sent
We appreciate your effort and will try to fix the article